Best Selling Products

Plugin Retouch4me
69 USD

Upgrade Genuine Office 365
49 USD

Genuine Adobe Illustrator account
99 USD

Freepik Premium Account
59 USD

Upgrade genuine Capture One account
120 USD

ChatGPT Plus Account (GPT-4)
16 USD

Copyright Adobe Lightroom Account
59 USD

Upgrade Duolingo Super
29 USD

Windows 10 & 11 Pro Key
36 USD

Genuine Cheap Canva Pro
39 USD

Adobe Photoshop Copyright - Full App
120 USD

Adobe Premiere Pro Account
99 USD

Capcut Pro 1 Year
39 USD

Autodesk All App Account Copyright
120 USD

MidJourney Account
29 USD
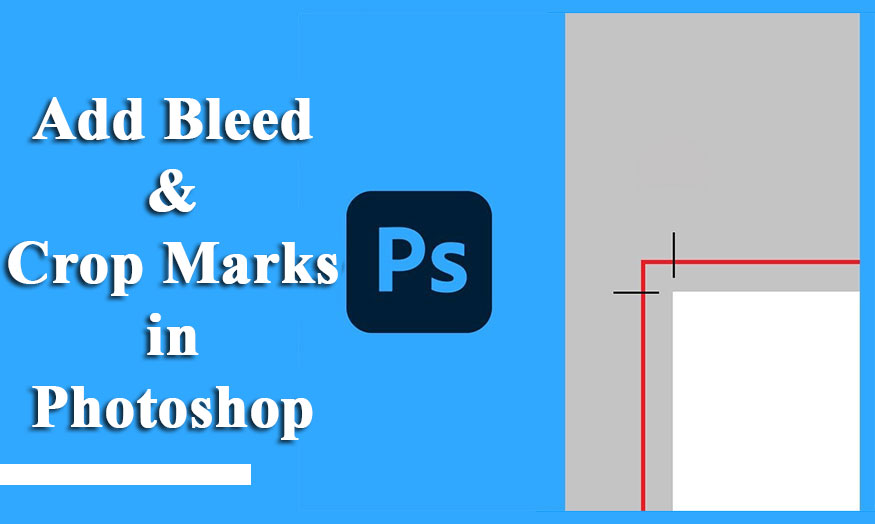
How to add Bleed and Crop Marks in Photoshop with SaDesign
Before printing, your designs need to add Bleed or Crop Marks to avoid accidentally cutting into the content. Let's learn with SaDesign how to add Bleed and Crop Marks in Photoshop in the following shares.
Before printing, your designs need to add Bleed or Crop Marks to avoid accidentally cutting into the content. Let's learn with SaDesign how to add Bleed and Crop Marks in Photoshop in the following shares.
1. Steps to add Bleed in Photoshop
“Bleed” are the white borders surrounding your design that will be cut off after printing to help make the design more square and neat. Although the Bleed part will be cut off, it plays a very important role in keeping the information in the design from being cut off. The Bleed area around the document is usually set to be 3-5mm in size.

To add Bleed to your designs in Photoshop, follow these steps:
Step 1: Add some rulers around the edges of the your document. Press the keyboard shortcut Ctrl+R to make Rulers appear. Then on the menu bar go to View => Snap To => Document Bounds to ensure that the new rulers will snap to the document edges.
Now select the Move Tool on the toolbar, then click on the top ruler and drag it down to the top edge of your document. Move to the left ruler and drag the second ruler line to the left edge of the document.


Do the same to add two other ruler lines to the remaining two edges of your document. Activating these rulers will help you delineate the printed area from the area that will be clipped.
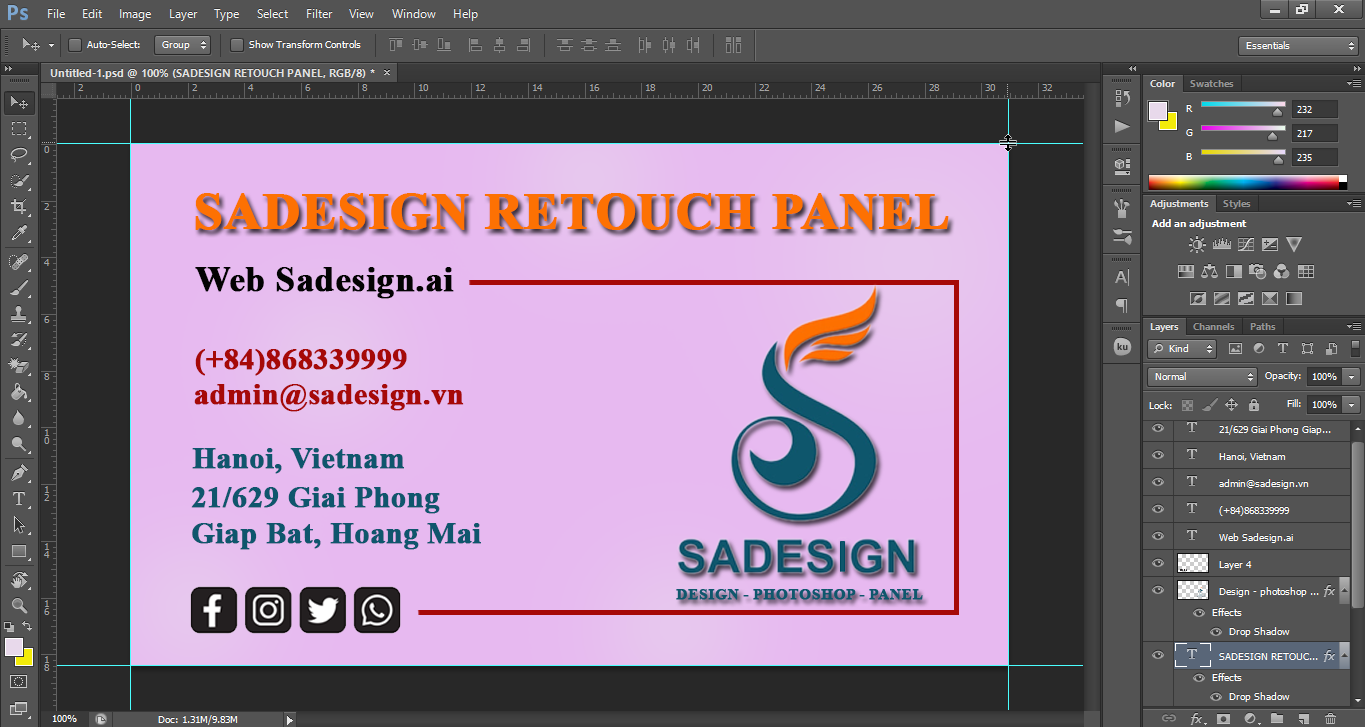
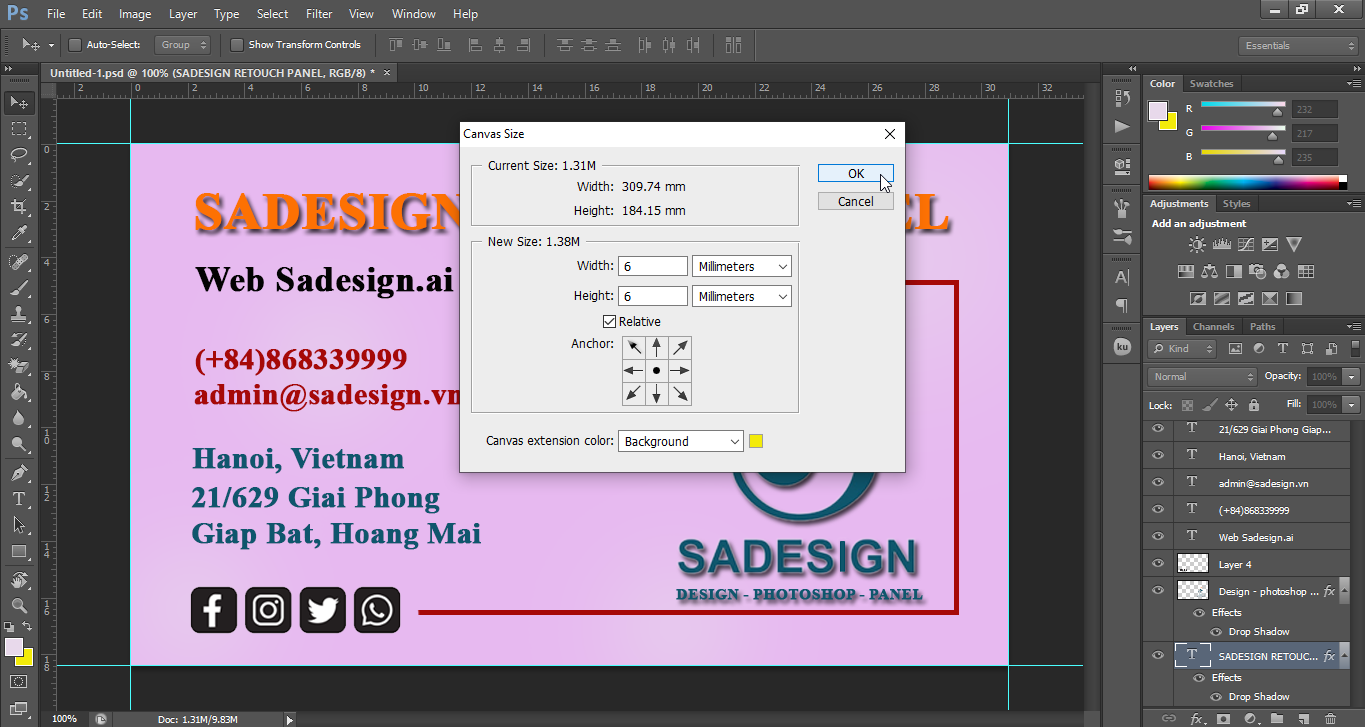
Step 2: To add Bleed in Photoshop, on the menu bar go to Image => Canvas Size and set the unit to millimeters. Check the Relative box, then in the Anchor box, click on the box until the arrows point outward.
We want to add 3mm to each side of the document, so you need to increase the current Width and Height values by 6mm. You can add 6mm to the existing values, or you can select the Relative box and enter 6 in both the Width and Height boxes. Click OK and your document will expand 3mm on each edge.
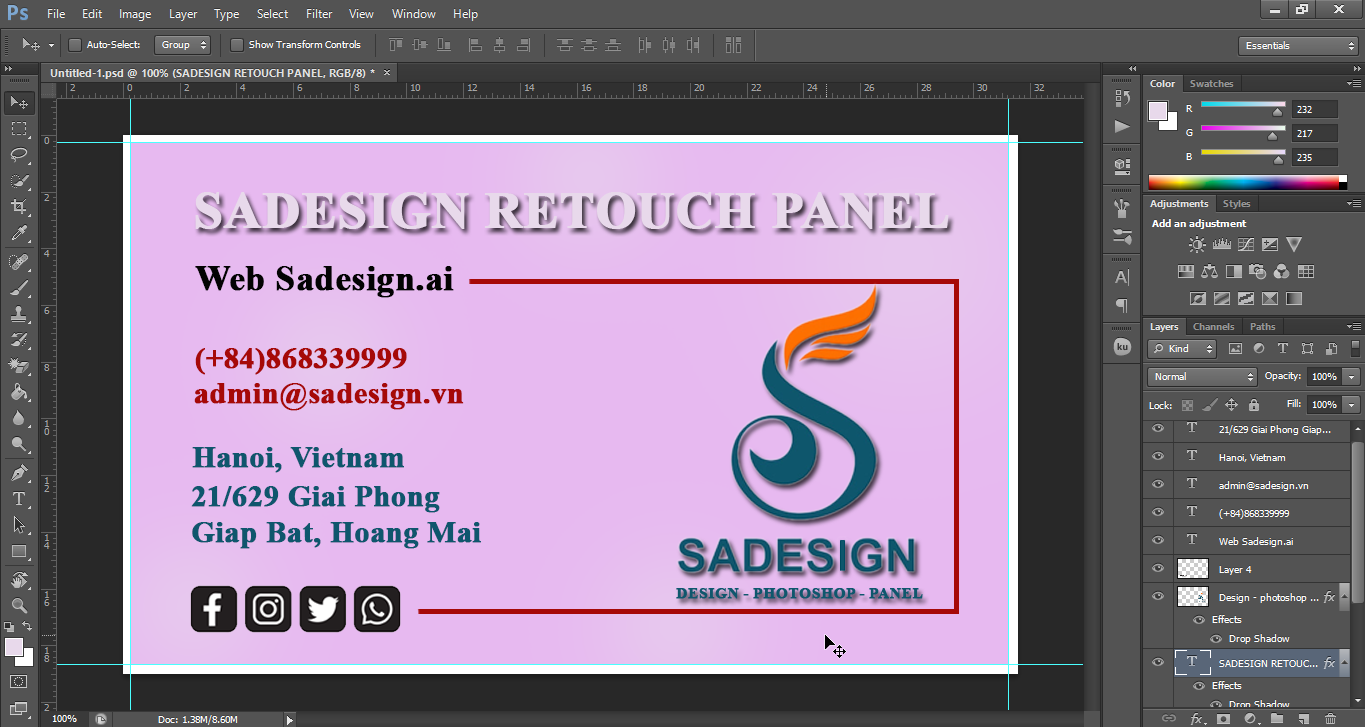
So you have successfully added Bleed to your design. The white border outside the design is the added Bleed part. Now when printing, you don't have to worry about information or content being cut off anymore.
2. How to add Crop Marks in Photoshop
Similar to Bleed, Crop Marks are thin lines placed on the corners of your document to indicate where your document needs to be trimmed after printing. It also avoids accidentally cutting into design information. To add Crop Marks to your design in Photoshop, do the following:
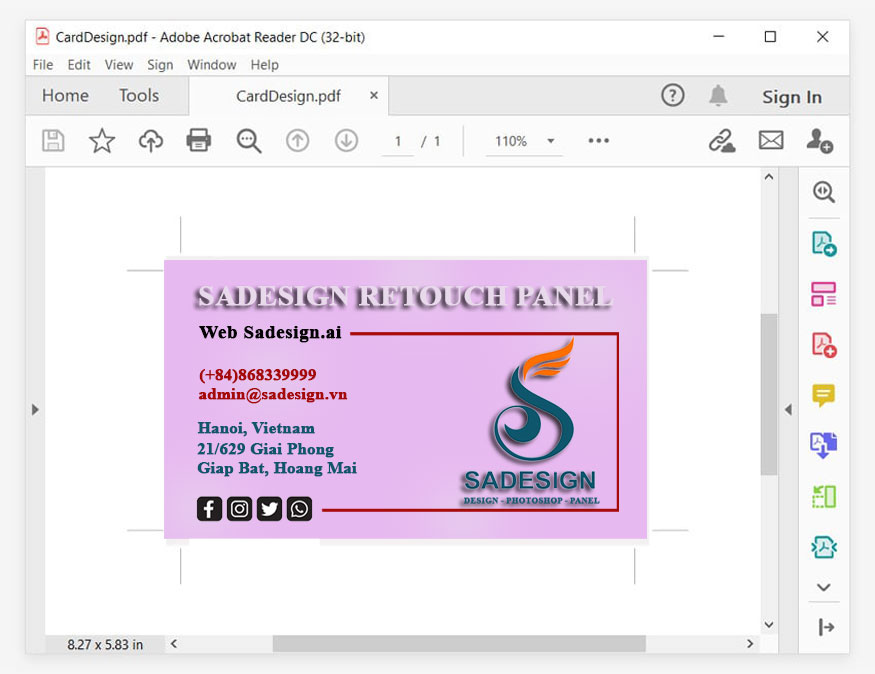
- To add Crop Marks in Photoshop, go to File => Print, select Microsoft Print to PDF. Move to the Printing Marks section and check the Corner Crop Marks box. Then click the Bleed button from the Functions section and set Width to 3 mm. Click OK and then press the Print button to save your document as a PDF file.

Open your PDF file and as you can see, your design has some cut marks in the corners as shown in the image.
The above general information about the steps to add Bleed and Crop Marks in Photoshop can hopefully help you. These features allow the ability to create borders around documents, avoiding accidentally cutting into content when printing. Even though it will be cut out, it is extremely important, don't miss this step before printing.


VIP Products


Best Selling Products
Plugin Retouch4me
69 USD
Upgrade Genuine Office 365
49 USD
Genuine Adobe Illustrator account
99 USD
Freepik Premium Account
59 USD
Upgrade genuine Capture One account
120 USD
ChatGPT Plus Account (GPT-4)
16 USD
Copyright Adobe Lightroom Account
59 USD
Upgrade Duolingo Super
29 USD
Windows 10 & 11 Pro Key
36 USD
Genuine Cheap Canva Pro
39 USD
Adobe Photoshop Copyright - Full App
120 USD
Adobe Premiere Pro Account
99 USD
Capcut Pro 1 Year
39 USD
Autodesk All App Account Copyright
120 USD
MidJourney Account
29 USD