Best Selling Products

Adobe Premiere Pro Account
99 USD

Upgrade Duolingo Super
29 USD

Adobe Photoshop Copyright - Full App
120 USD

Autodesk All App Account Copyright
120 USD

Copyright Adobe Lightroom Account
59 USD

Genuine Adobe Illustrator account
99 USD

Upgrade Genuine Office 365
49 USD

Upgrade genuine Capture One account
120 USD

Freepik Premium Account
59 USD

Plugin Retouch4me
69 USD

ChatGPT Plus Account (GPT-4)
16 USD

Windows 10 & 11 Pro Key
36 USD

Capcut Pro 1 Year
39 USD

MidJourney Account
29 USD

Genuine Cheap Canva Pro
39 USD
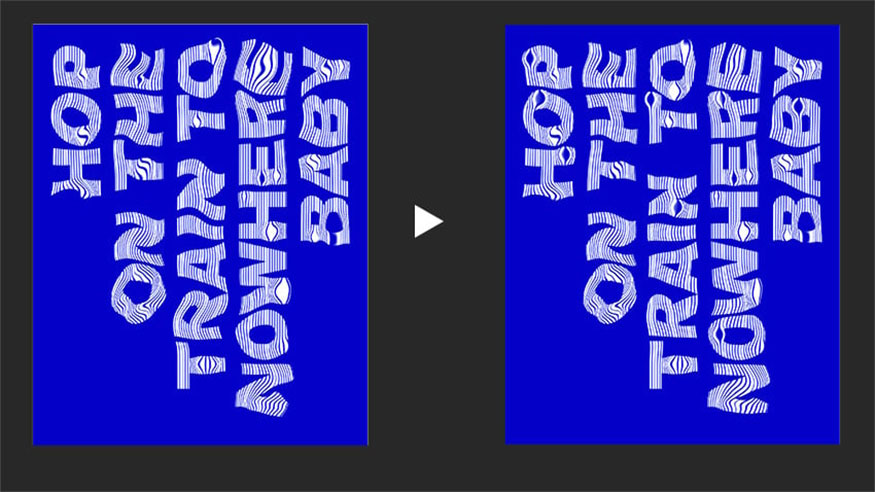
How to create warped text effects in Photoshop
Nội dung
Text effects are an important element that makes your design more impressive and attractive. The content of the following article SaDesign will introduce to readers how to create warped text effects in Photoshop.
Text effects are an important element that makes your design more impressive and attractive. The content of the following article SaDesign will introduce to readers how to create warped text effects in Photoshop.

1. Instructions for creating a new document and adding instructions.
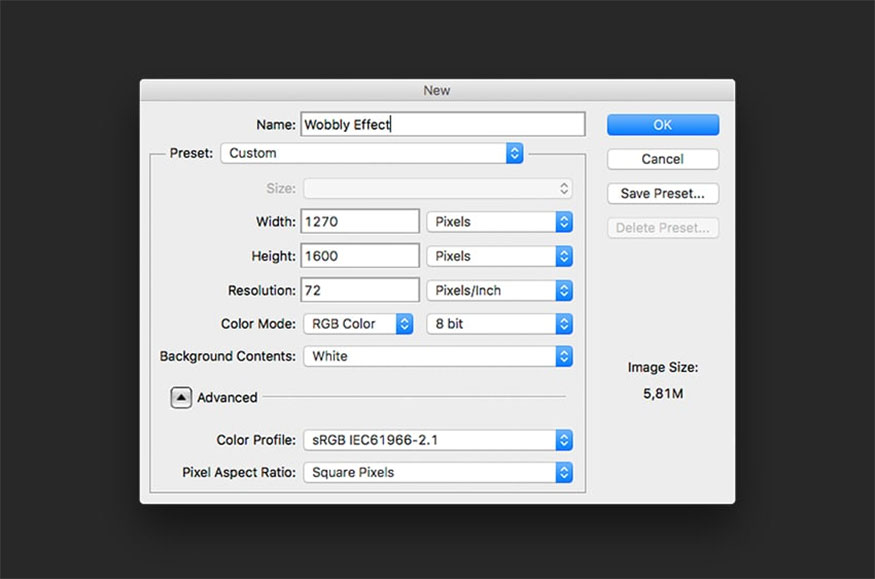
Step 1: Open Photoshop, then go to File => New => name the document “Wobbly Effect”. Set Width to 1270 px and Height to 1600 px. Use 72 dpi and Background Contents is White => click OK to create the document.
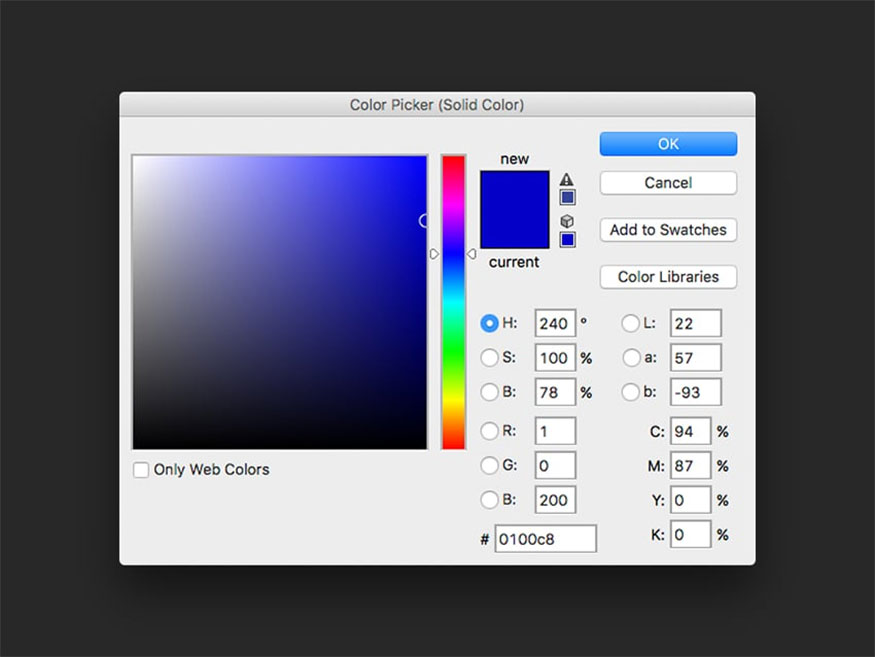
Step 2: At the bottom of the Layers panel, click Create a New Fill or Adjustment Layer => Solid Color, use blue color code #0100c8.
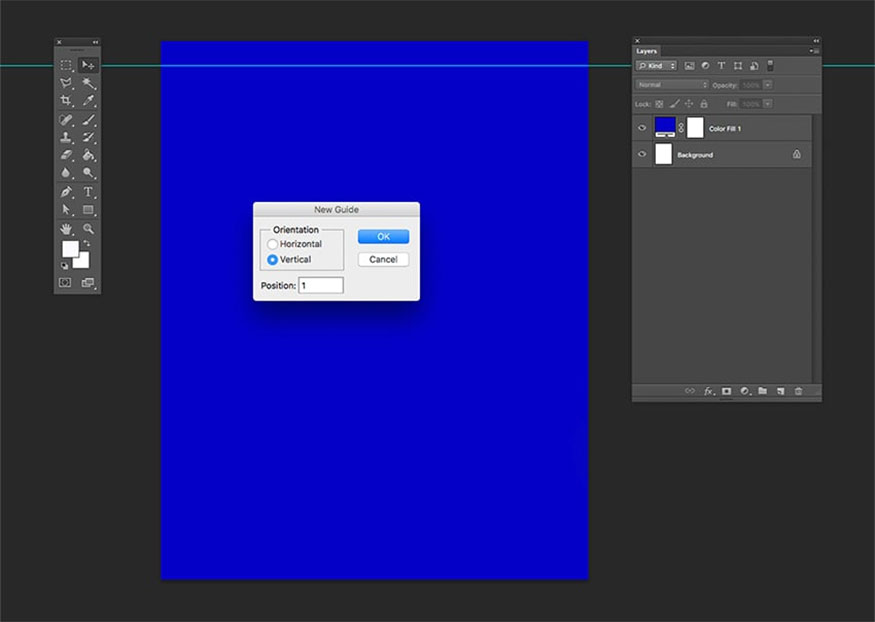
Step 3: Create a 1-inch margin around the document, then go to View => New Guide. Set Orientation to Horizontal and Position to 1 inch, do the same with Vertical orientation. With the right margin you only need to subtract 1 inch from the final document size.
2. How to add and place text
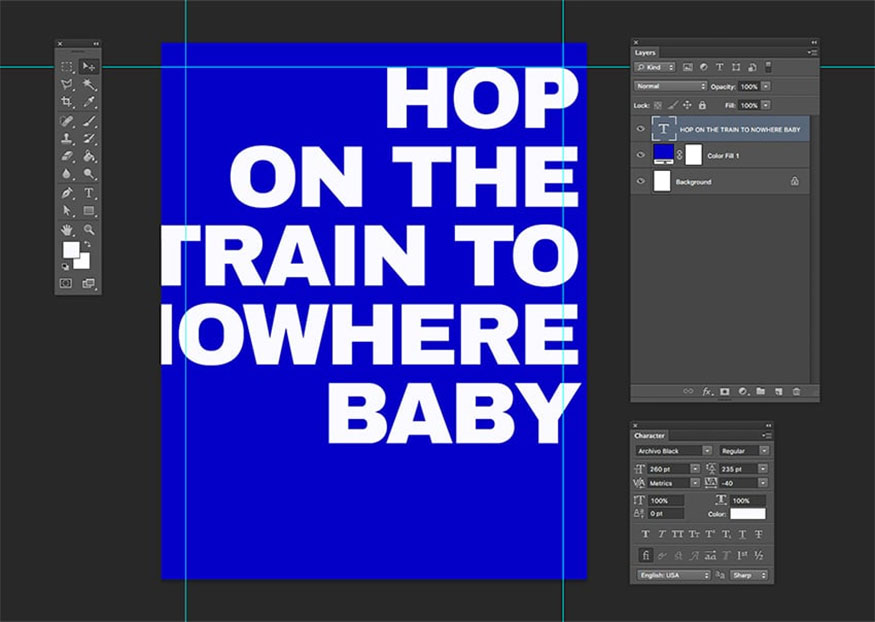
Step 1: You need to add text using the Type Text tool (T), the content we use used in this tutorial is “Hop on the train to nowhere baby”, in white Archivo Black font and capital letters. Set the size to 260 pt, leading to 235 pt, tracking to -40 and center align.
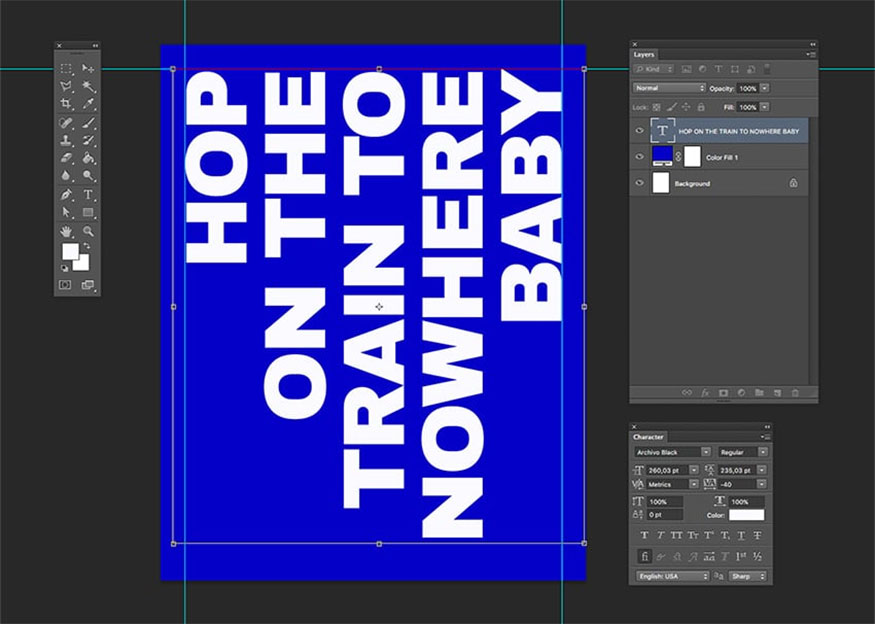
Step 2: When selecting the text layer, press Ctrl + T to transform the layer. Rotate by hovering over one of the corners until the rotate icon appears. Press the Shift key to perform uniform rotation and -90 degree rotation. Align the text with the top margin, then press Enter to continue.
3. How to create strokes and copy objects
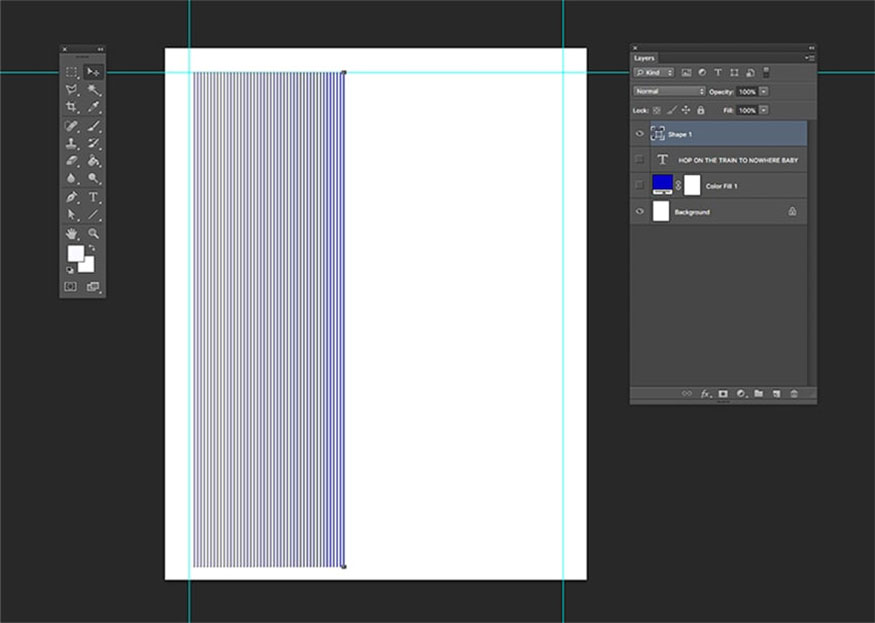
Step 1: Create vertical lines in the document, turn off other layers and you will see the lines that are being created.
Go to the toolbar and select the Line Tool (U). Then change the settings on the Options bar as follows:
+ Fill: No Color
+Stroke: blue color code #0100c8
+Stroke: 3 px
+ Weight: 3 px.
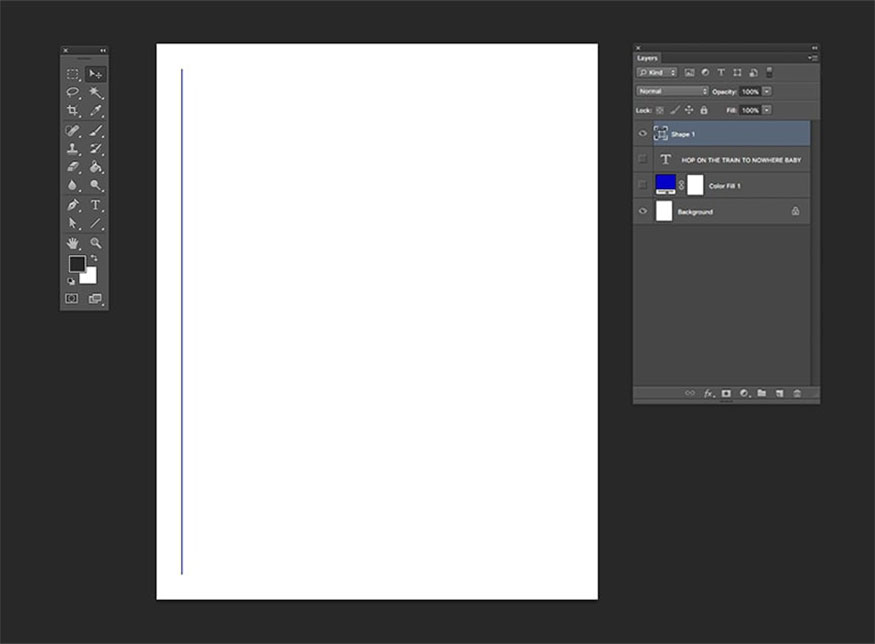
Then click on the document and draw a single vertical line.
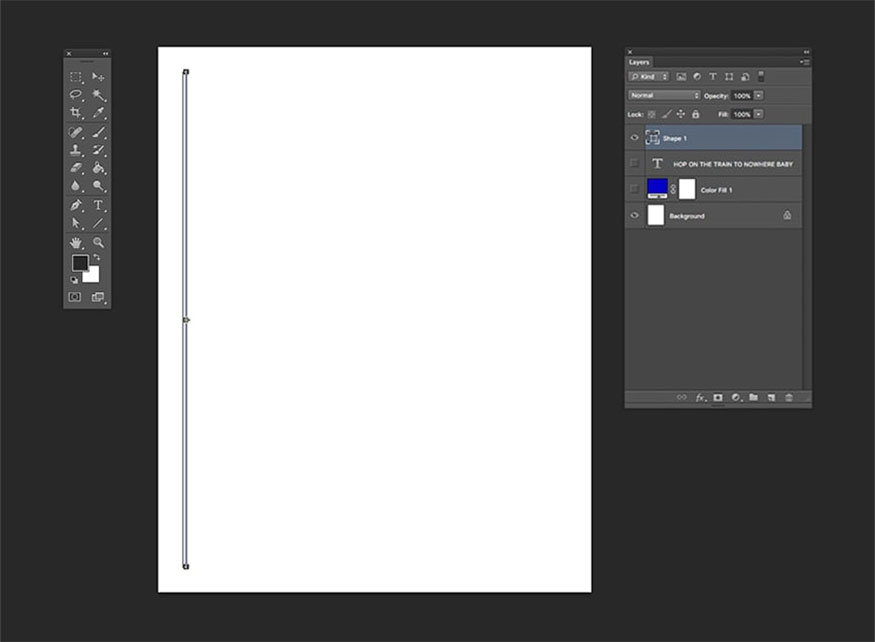
Step 2: Now you need to copy this line across the entire document. Select the stroke layer created in the previous step, then press Option-Command-T to transform and copy the object. The transform control will appear. To move the stroke, you press and hold Shift, then press the right arrow key => Enter to place the object.
Step 3: To convert again, you can press Shift-Ctrl-T. In this case, we want to copy the object, so we need to execute more option keys.
Press Shift – Option – Ctrl – T several times until the document is filled with strokes. This method can multiply strokes by the strokes on the layer.
4. Instructions for using the Liquify tool in Photoshop
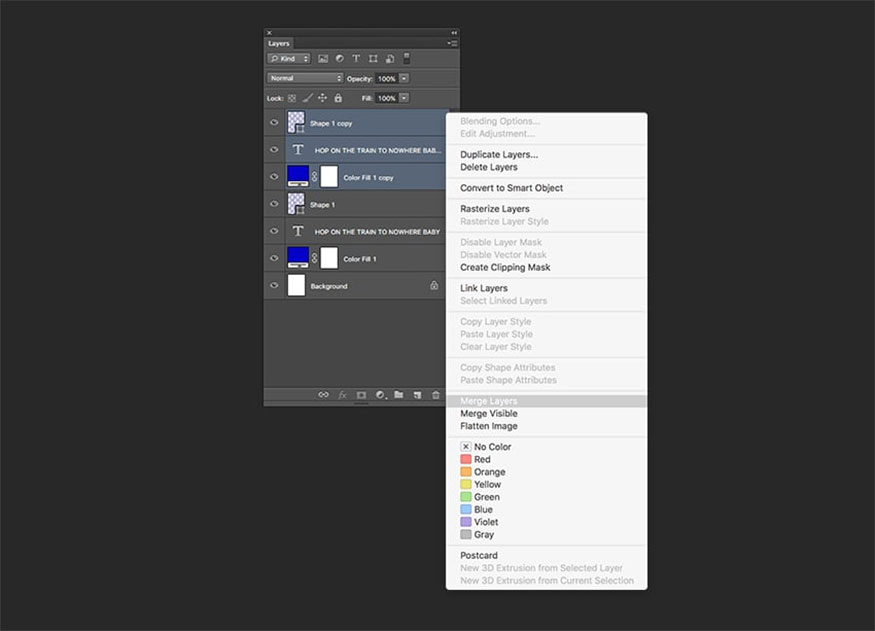
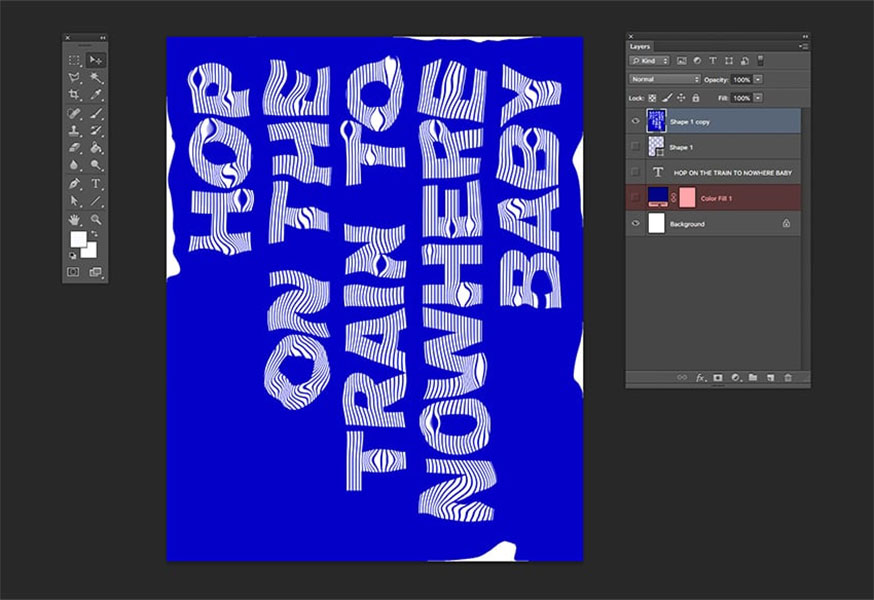
Step 1: On the Layers panel, click to select the text layer, stroke layer and fill layer. Then right click => Duplicate layers under Destination, make sure the name of the working file is selected. Click OK.
When these two copied layers are selected, right-click and select Merge Layers, then hide the original layers.
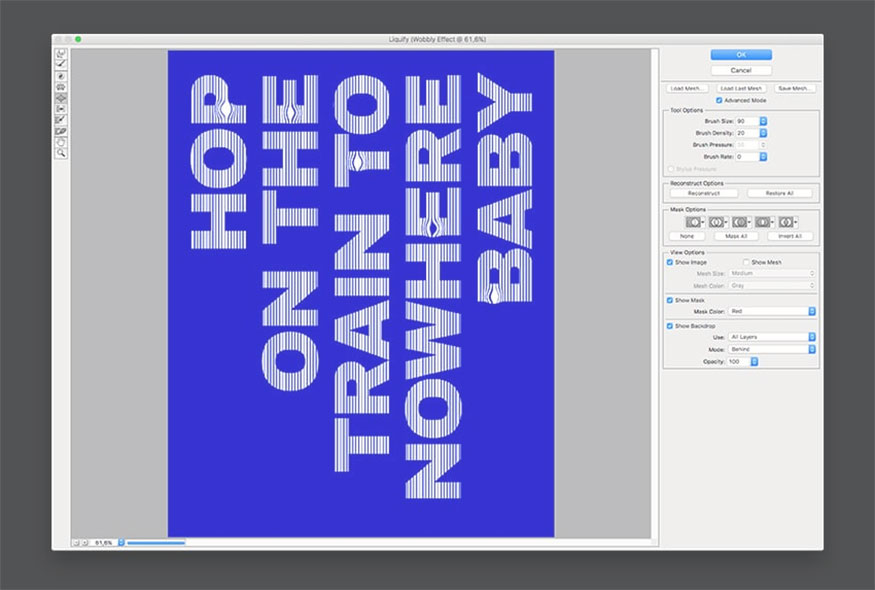
Step 2: Go to Filter => Liquify (Shift-Command-X), the Liquify options window will turn up. Let's start with the Bloat Tool (B), which will help expand the selection where you place the brush. Set the Brush Size tool to 90 and Brush Density to 20. Click between the lines to open the lines, you can use Ctrl-Z to move back one step.
Step 3: Using the Twirl Clockwise © tool, you can rotate the lines around like a wave. Set Brush Size to 300, Brush Density to 20 and Brush Pressure to 82. Brush pressure is the intensity at which we want to edit the layer.
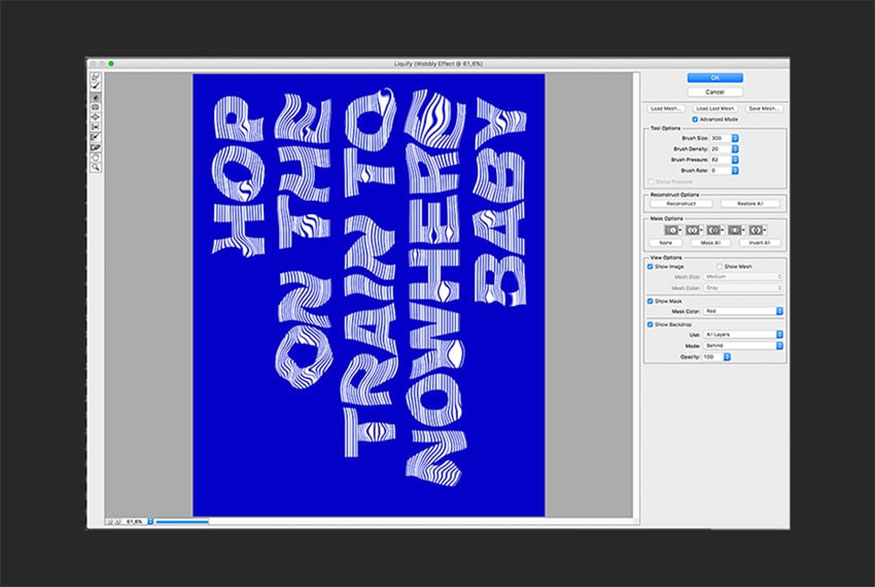
Step 4: To make the design easy to read, use the Forward Twist (W) tool to move the text back to its original shape. Click 'OK' after completion.
Step 5: When using the Photoshop Liquify tool, it is possible that the layer we are working on has moved, which causes the edges to move towards the center. You just need to activate the original Color Fill layer.
5. Instructions for saving Photoshop files and Web files
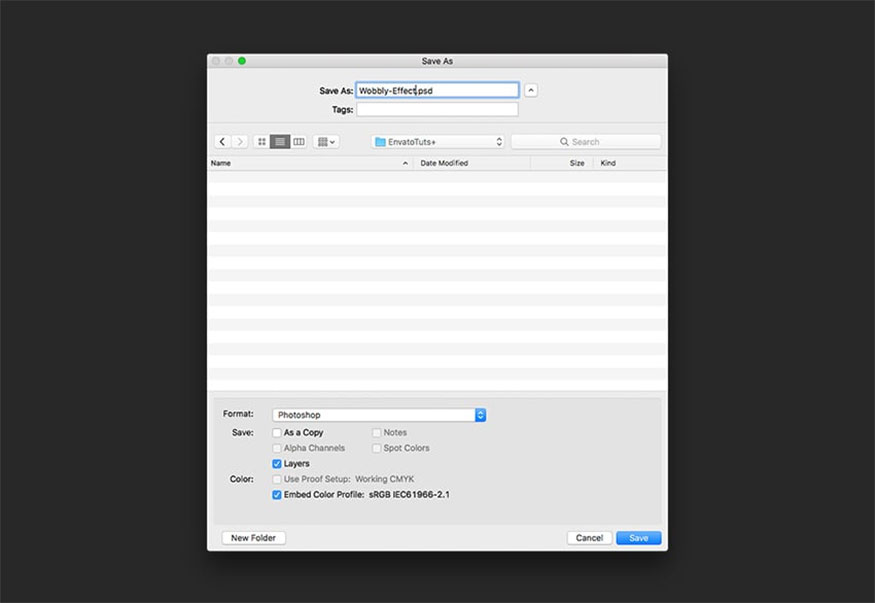
Step 1: Now that Photoshop's warped text effect is complete, to save the file as Photoshop, press Ctrl-S and save the image to the desired location. You can choose any desired file type to save.
Step 2: To save a file for the web, you need to go to File => Save for Web or Shift-Options-Ctrl-S. Select the file type you want to save the document, in this example we choose to save as JPEG and set 100 for Quality. In Image size, you can change the pixel size of the image if there are size limitations.

You can see the size of the file at the bottom left. This is useful in cases where there are size limitations on the website and you need to reduce the quality or size of the image.
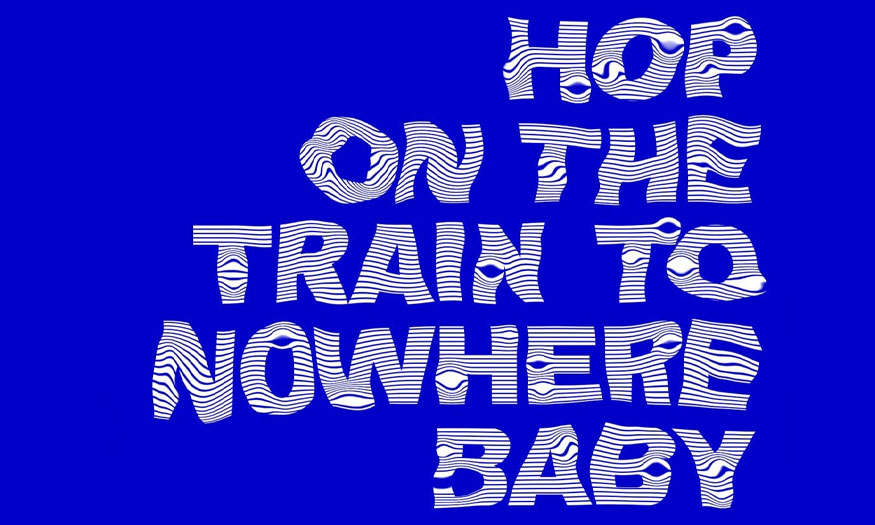
And this is the result:

Click Save to select the location in the new window and click save again.
So, we have completed creating a warped text effect in Photoshop that is extremely simple and easy. Wishing you success with your design!
- Stylish and Impressive Photoshop effects
- Methods for producing cloud effects in Photoshop


VIP Products


Best Selling Products
Adobe Premiere Pro Account
99 USD
Upgrade Duolingo Super
29 USD
Adobe Photoshop Copyright - Full App
120 USD
Autodesk All App Account Copyright
120 USD
Copyright Adobe Lightroom Account
59 USD
Genuine Adobe Illustrator account
99 USD
Upgrade Genuine Office 365
49 USD
Upgrade genuine Capture One account
120 USD
Freepik Premium Account
59 USD
Plugin Retouch4me
69 USD
ChatGPT Plus Account (GPT-4)
16 USD
Windows 10 & 11 Pro Key
36 USD
Capcut Pro 1 Year
39 USD
MidJourney Account
29 USD
Genuine Cheap Canva Pro
39 USD